Open OX CNC Build
Day One
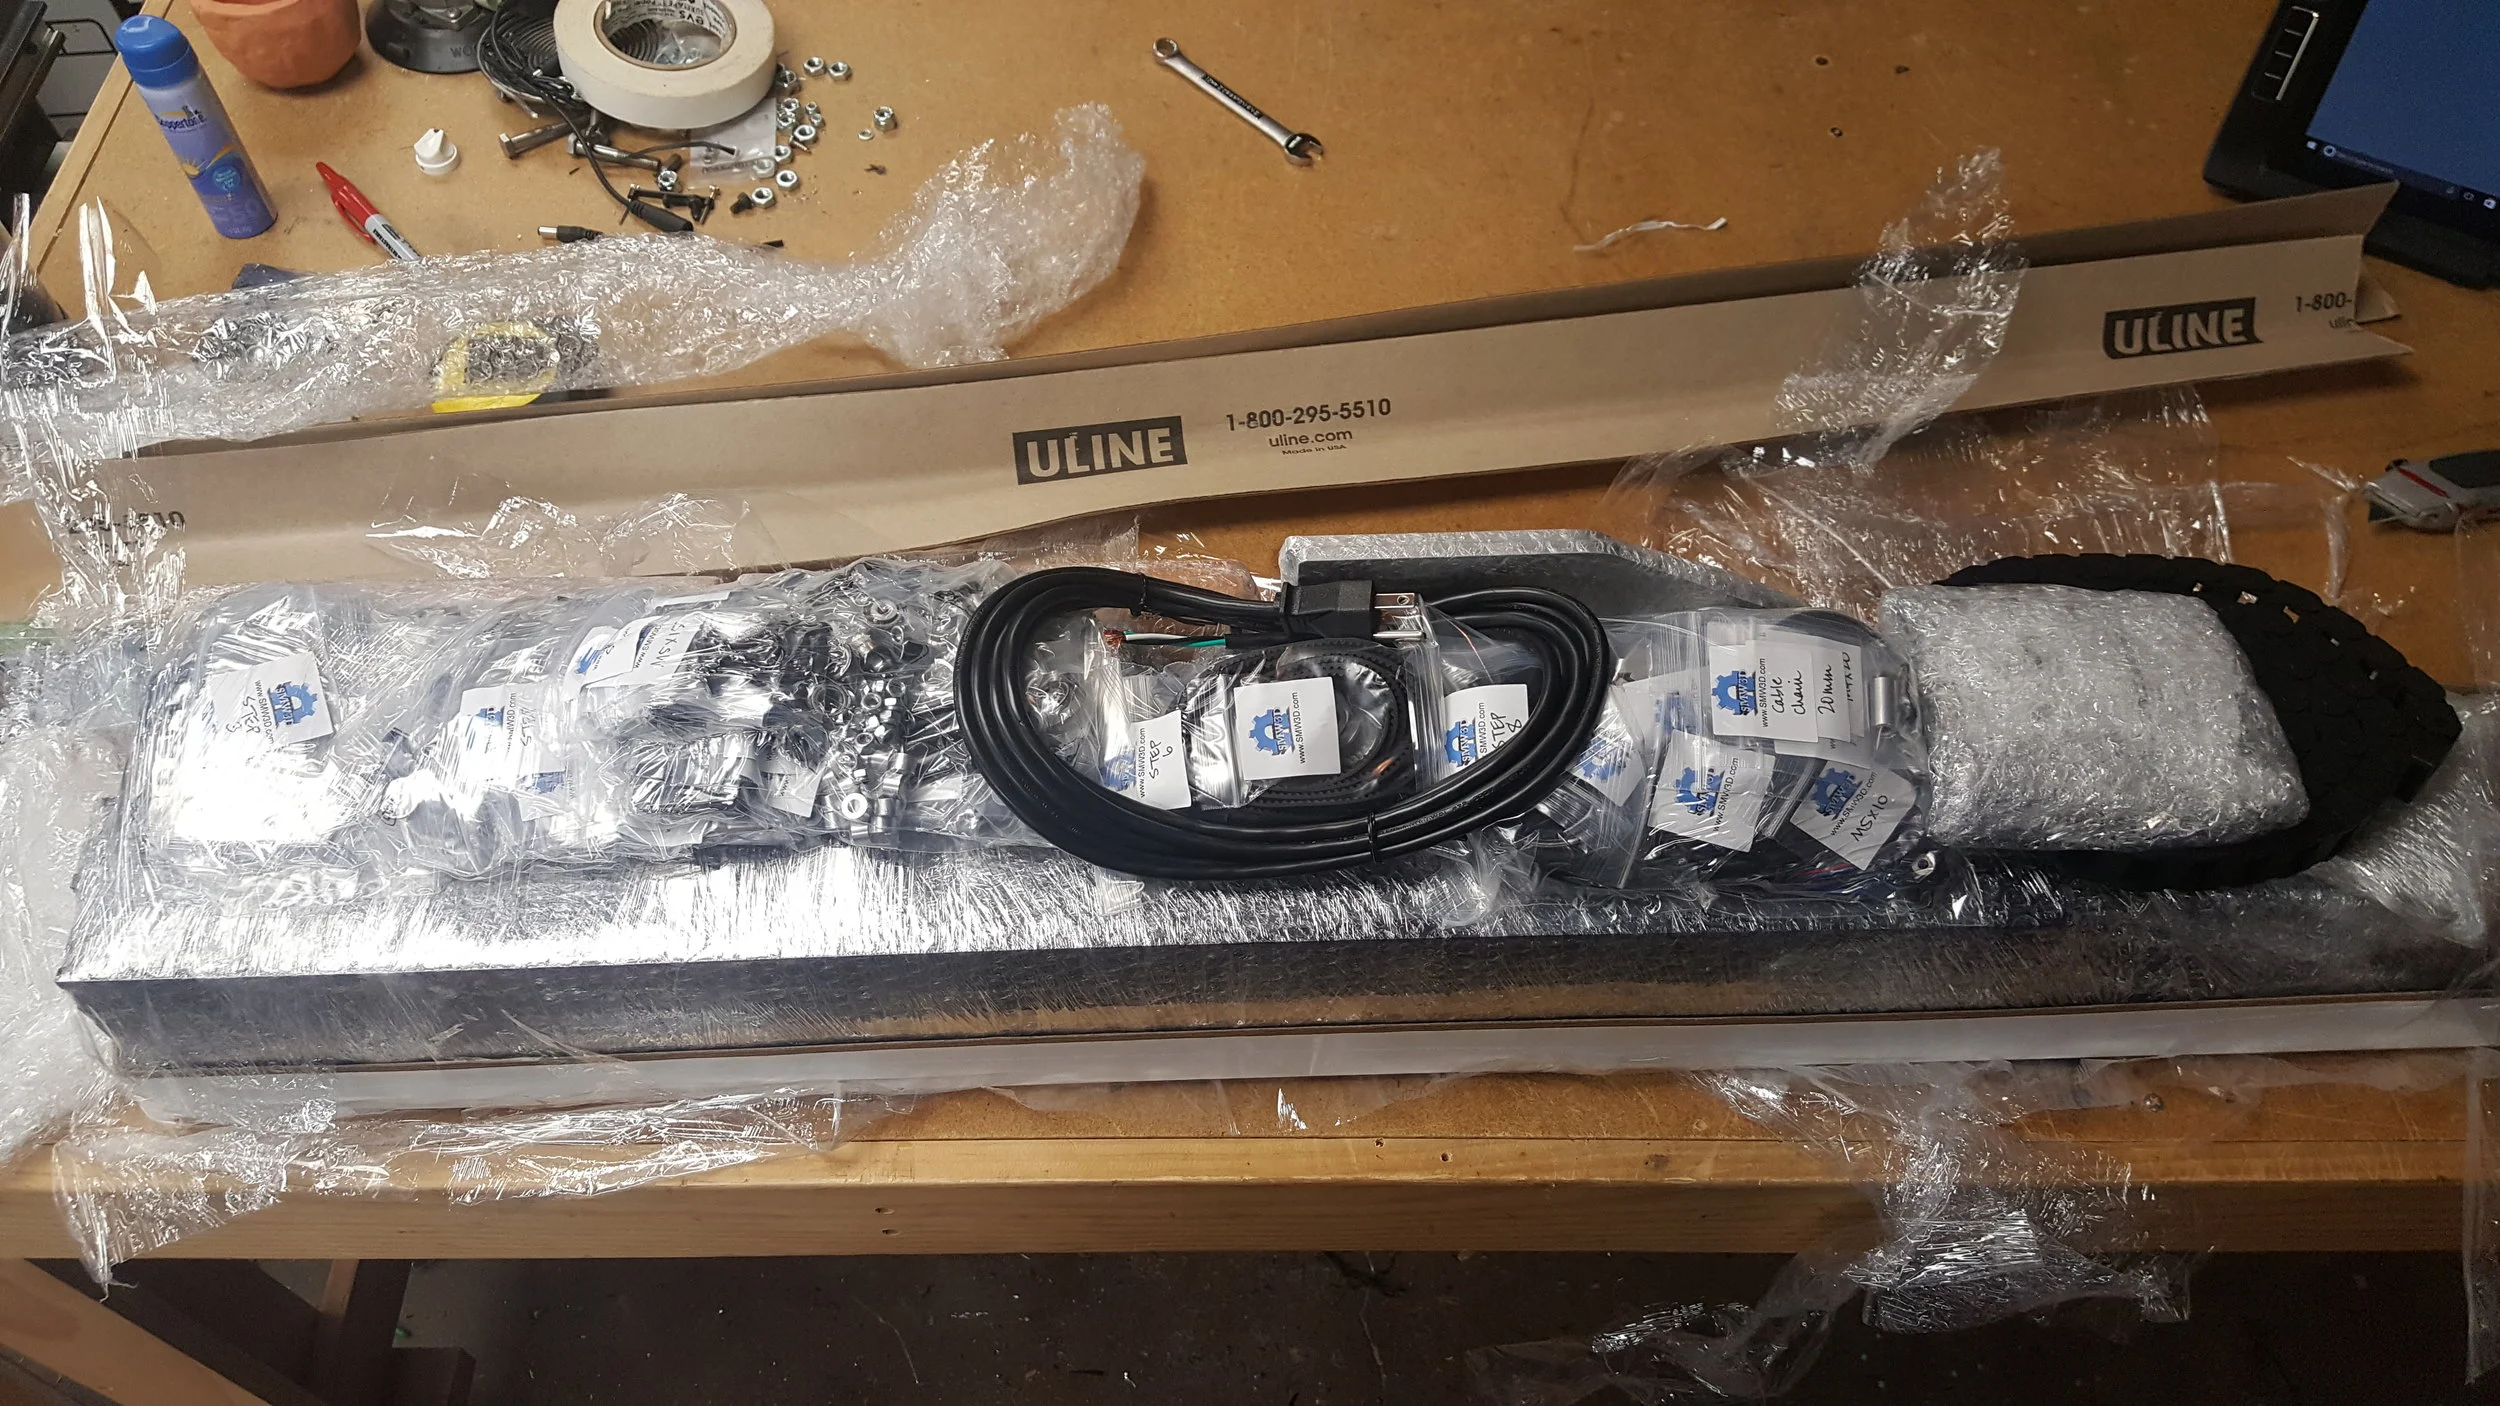


Unboxing
A few months ago I ordered the Open Builds Ox CNC Router from the fine folks over at SMD3D and after many weeks, I'm finally getting around to assembling it. The unit shipped very well packed and seems to have arrived unscathed. All of the reviews I read about how organized and stress free the kit was from SMD3D seems to be holding true upon initial inspection. I ordered the large size (1000mmx750mm) with the optional black anodizing, wire loom, upgraded motor and spindle, and the extra wheel sets.

prep

Following the advice of some users over at Hackaday.io, I decided to 3d print a tap guide to assist in tapping the multitude of holes in the end of the OpenBeam extrusion that makes up the frame of the OX. I downloaded and printed the tap guide from Thingiverse and it worked perfectly. While I was at it, I needed to purchase an M5 tap and a sheet of 3/4" MDF for the spoil board and following the advice in the instructions, to act as a flat work surface to help ensure that the frame would go together square and true.

Step 1
The first order of business is building the main framework for the router. This involved tapping a few holes and screwing together the precut sections of aluminum extrusion. I hit my first snag early on as it seemed that I was shipped some incorrect parts. After assembling the frame, it seemed I was making a 1000mm x 1000mm frame when I was supposed to be making one that was 1000mm x 750mm. I was concerned that I would have to cut down some of the pieces to make it work. I'm glad I didn't because I had simply misread some of the measurements and had the pieces in the wrong orientation.
My metric tape measure is on its way!

Soooooo.... that's not right.
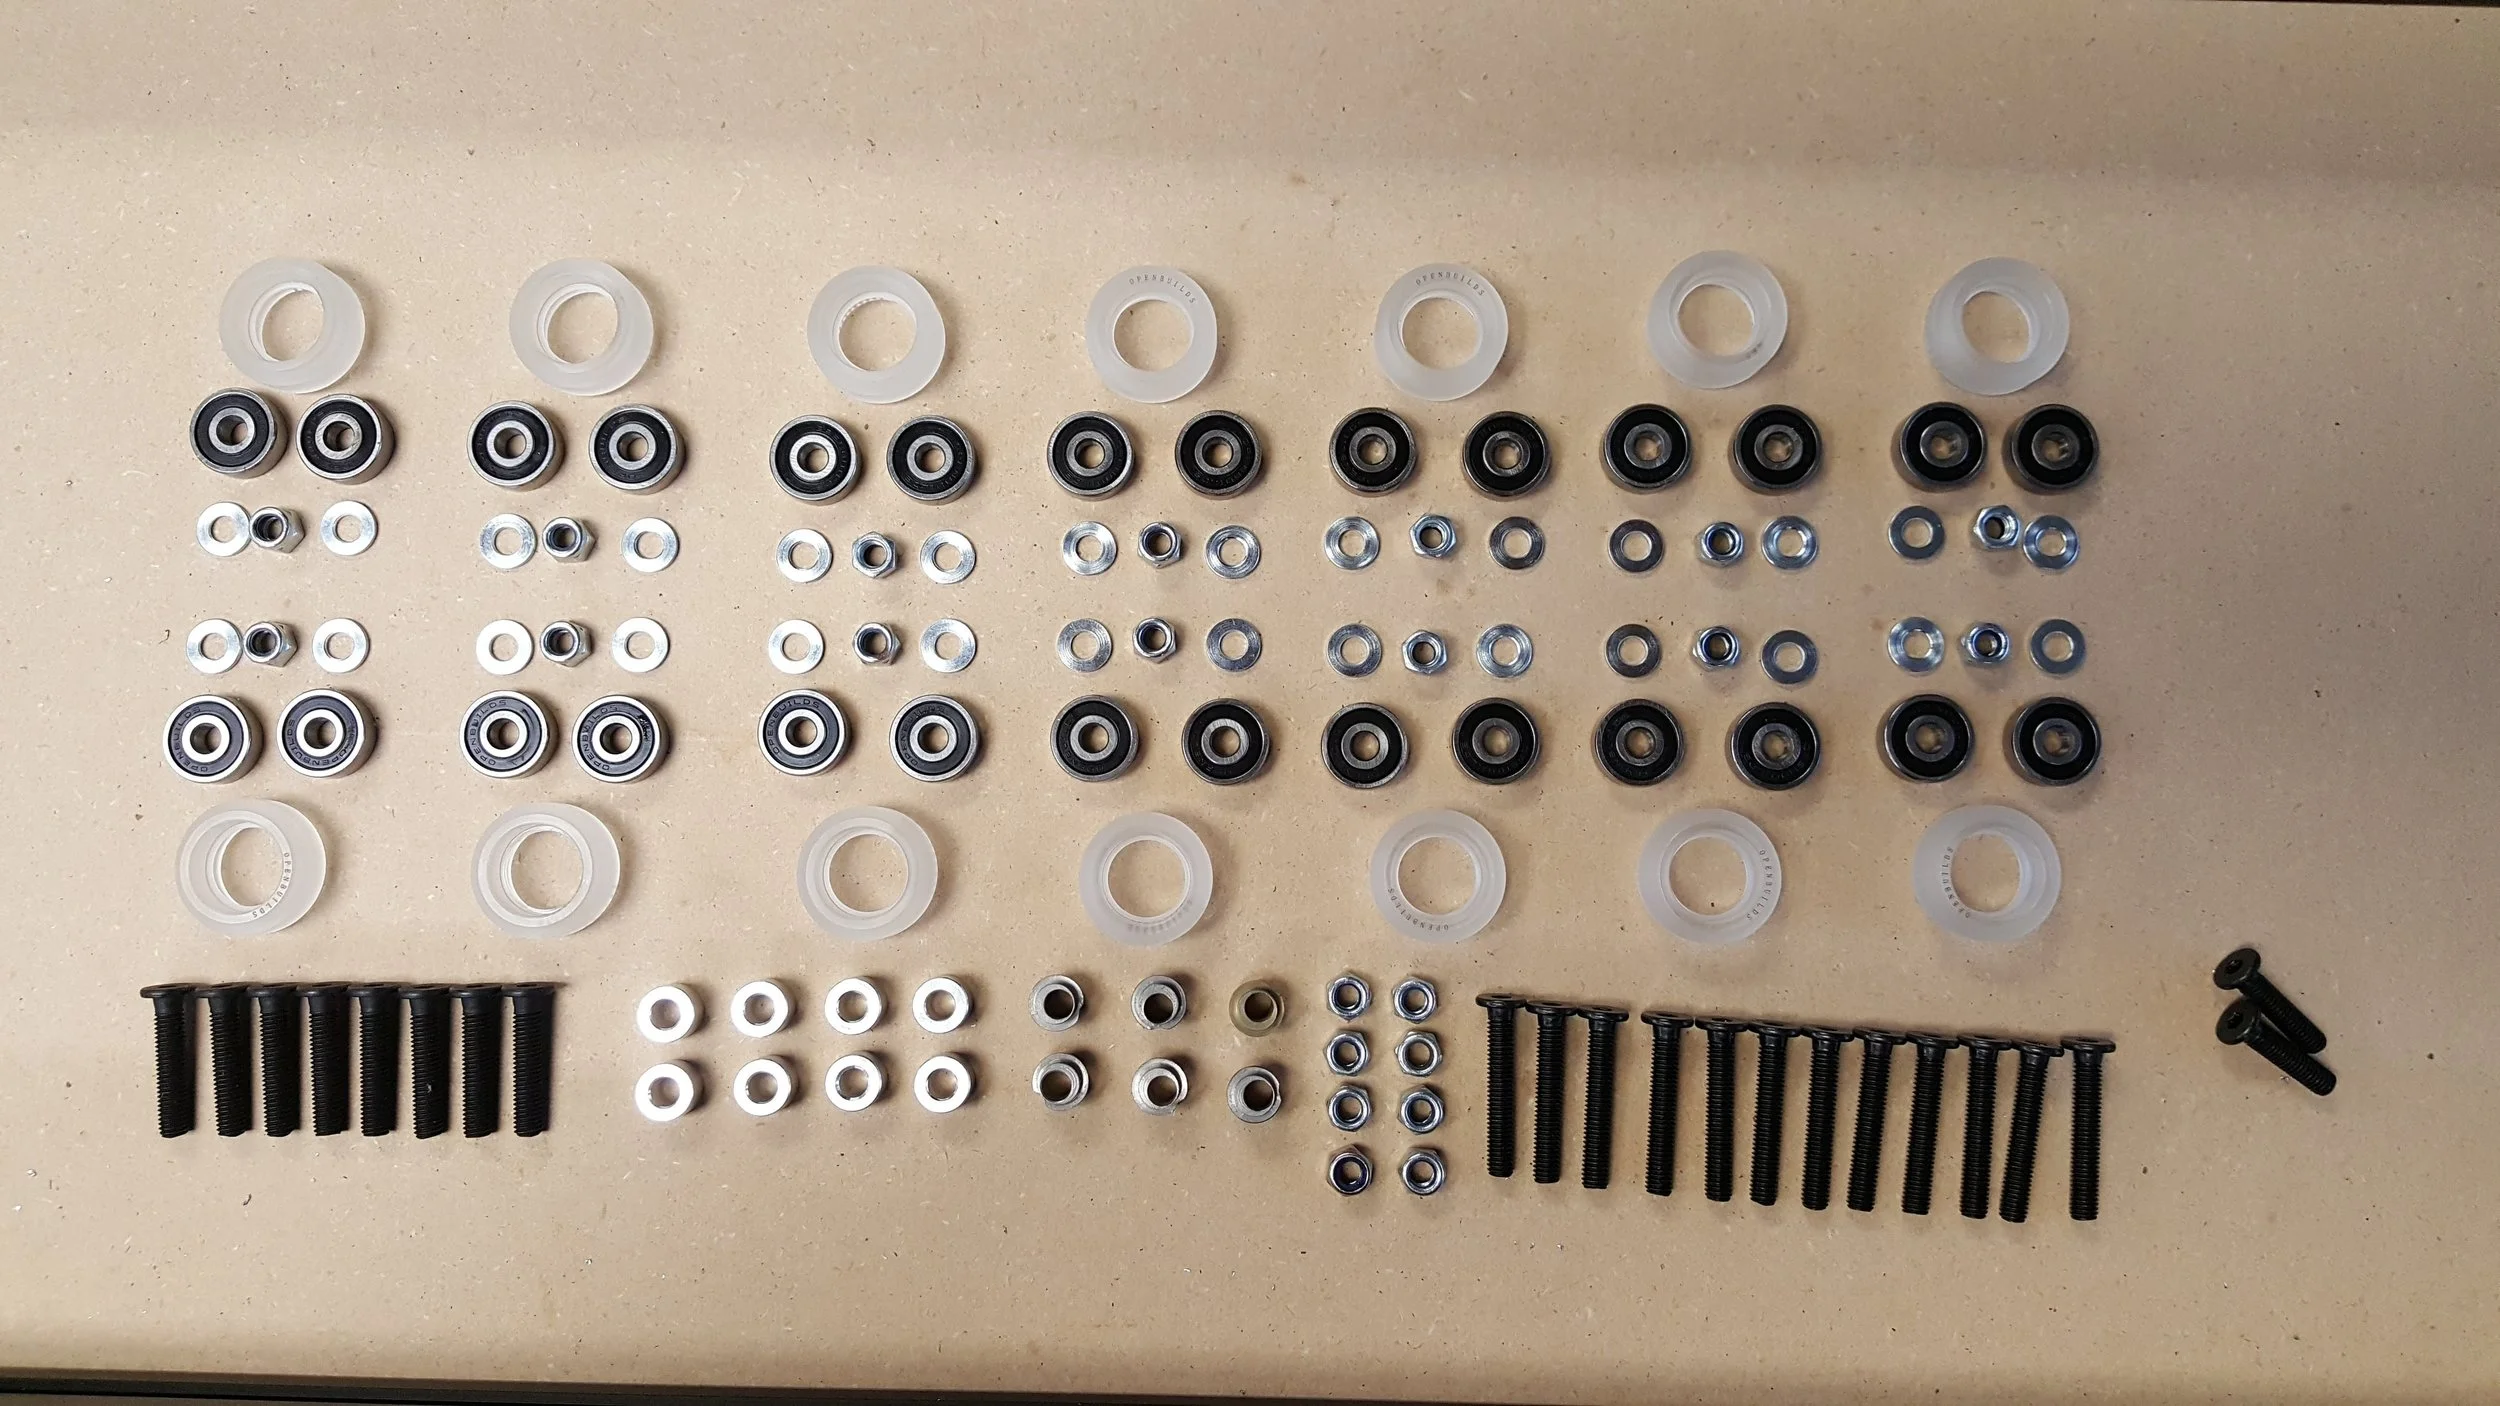
Step 2
Next we start assembling the wheels. This is where I hit my first real snag. You'll notice in the photo to the left, that there's two screws that aren't in with the others. These were accidentally sent with the larger screws that's just above them. This means I am two short (pun intended) for the long screws that act as the axels for the wheels. Luckily I have a couple of similar screws laying around so this shouldn't hold up the build.
Here's a quick video explaining how to assemble the wheel kits (I wish I'd watched this first)...


DAY 2
After completing the frame installation and attending to the cabling, it was time to turn to the software installation and getting the TinyG configured.